React Hooksを利用してモーダルウィンドウを作成してみよう
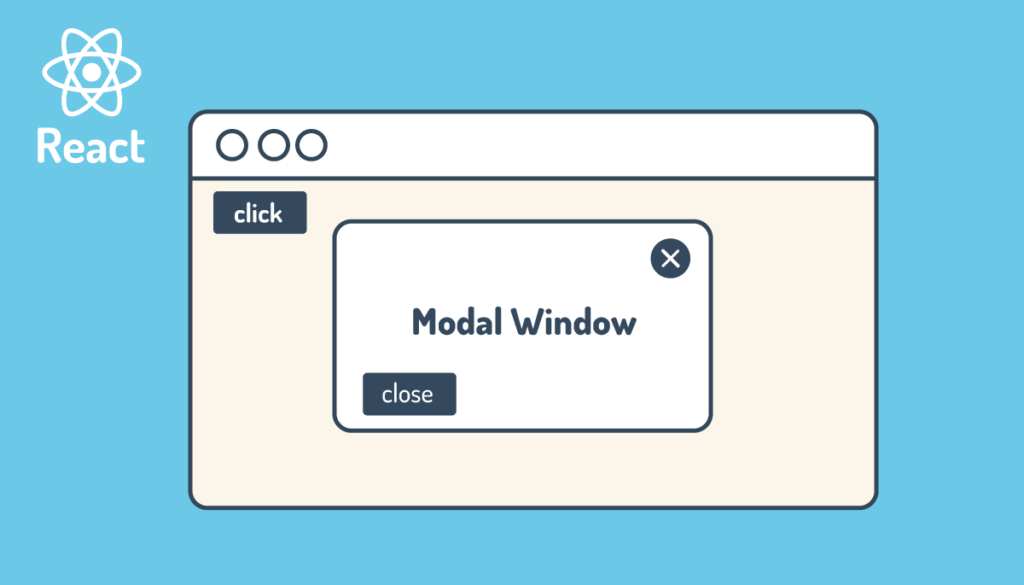
ReactでModalを利用したい場合にはReact-Modalなどのライブラリもありますが本文書ではReact Hooksを利用してModalの作成をスクラッチからStep By Stepで確認していきます。スクラッチからModalを作成することでReact HooksだけではなくcreatePortal, useState, useEffect, useRefなどReactの基本的な機能の理解を深めることができます。また、モーダルウィンドウが表示されている時に背景のスクロールを停止する”body-scroll-lock”ライブラリの設定も行います。
目次
プロジェクトの作成
create-react-appコマンドを利用してReactプロジェクトの作成を行います。プロジェクトの名前は任意の名前をつけてください。ここではreact-hooks-modalとしています。
Viteを利用してReactプロジェクトの作成を行います。”npm create vite@latest”コマンドを実行するとプロジェクト名、Framework, Variantを聞かれます。ここではプロジェクト名に”react-hooks-modal”とFrameworkに”React”, Variantに”JavaScript”を選択しています。
 % npm create vite@latest

> npx
> create-vite

✔ Project name: … react-hooks-modal
✔ Select a framework: › React
✔ Select a variant: › JavaScript

Scaffolding project in /Users/mac/Desktop/react-hooks-modal...

Done. Now run:

  cd react-hooks-modal
  npm install
  npm run dev
プロジェクトの作成が完了後、作成したプロジェクトに移動して”npm install”コマンドでライブラリのインストールを行います。
 % cd react-hooks-modal
 % npm install
デフォルトのスタイルを解除するためにmain.jsファイルでindex.cssのimportをコメントします。
import React from 'react';
import ReactDOM from 'react-dom/client';
import App from './App.jsx';
// import './index.css'

ReactDOM.createRoot(document.getElementById('root')).render(
  <React.StrictMode>
    <App />
  </React.StrictMode>
);
プロジェクトフォルダのsrcフォルダにあるApp.jsファイルを作成して下記のコードを記述します。
function App() {
  return (
    <div style={{ margin: '2em;' }}>
      <h1>React Hooksでモーダルウィンドウを作成</h1>
    </div>
  );
}

export default App;
npm run devコマンドを実行して開発サーバの起動を行います。
% npm run dev

> react-hooks-modal@0.0.0 dev
> vite


  VITE v5.3.4  ready in 720 ms

  ➜  Local:   http://localhost:5173/
  ➜  Network: use --host to expose
  ➜  press h + enter to show help
ブラウザを起動して開発サーバにアクセスを行い下記の画面が表示されることを確認します。React Hooksでモーダルウィンドウを作成するための事前準備は完了です。
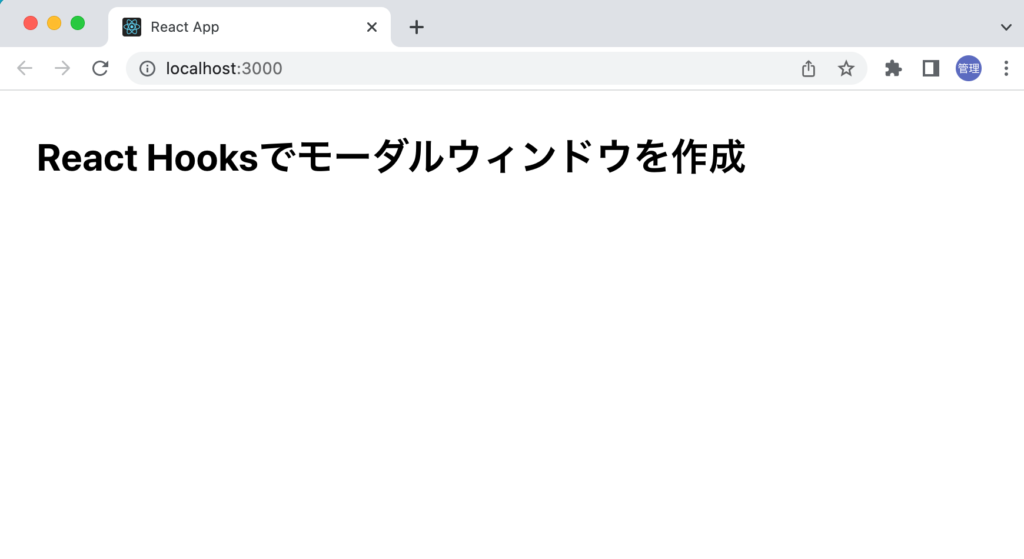
React Hooksを利用したモーダルの作成
これからHooksを利用してモーダルを作成します。React Hooksがなにかわからない人はこちらの記事が参考になります。
useModal Hookの作成
srcフォルダ内にhooksフォルダを作成してuseModal.jsxファイルを作成します。
useModal関数の中にModal関数を追加します。Modal関数ではブラウザに描写する内容を設定します。設定したModal関数をreturnすることでuseModal関数を実行した際の戻り値として利用することができます。
const useModal = () => {
  const Modal = () => {
    return <h2>Modal</h2>;
  };

  return { Modal };
};

export default useModal;
App.jsxファイルでuseModalをimportしてuseModal関数を実行して戻り値のModal関数を取得します。取得したModal関数をコンポーネントとしてModalタグで利用することができます。
import useModal from './hooks/useModal';

function App() {
  const { Modal } = useModal();
  return (
    <div style={{ margin: '2em' }}>
      <h1>React Hooksでモーダルウィンドウを作成</h1>
      <Modal />
    </div>
  );
}

export default App;
ブラウザで確認するとuseModal.jsxファイルで定義したModal関数の内容が表示されます。useModal Hookを作成することができました。useModal Hookを利用することでModal関数に設定した内容をブラウザ上に表示することができます。
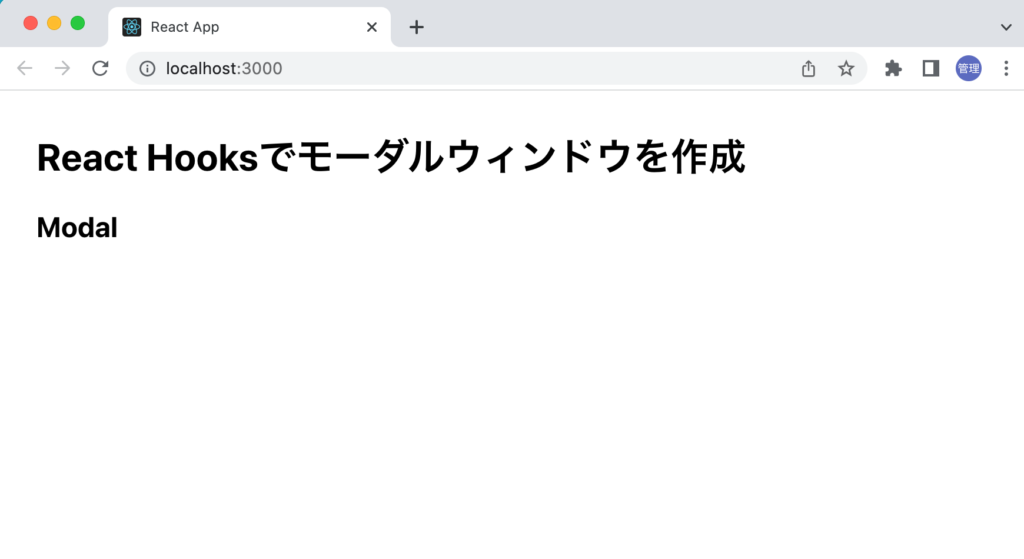
childrenの設定
Modal関数の中にブラウザ上に表示させる内容を直接記述していましたが外側からHTMLの要素を渡せるようにchildren propsを利用します。
const Modal = ({ children }) => {
  return <>{children}</>;
};
App.jsxファイルのModalタグの中にHTML要素を挿入します。
import useModal from './hooks/useModal';

function App() {
  const { Modal } = useModal();

  return (
    <div style={{ margin: '2em' }}>
      <h1>React Hooksでモーダルウィンドウを作成</h1>
      <Modal>
        <h2>Content from children</h2>
      </Modal>
    </div>
  );
}

export default App;
ブラウザ上ではModalタグの中に挿入したHTML要素が表示されます。
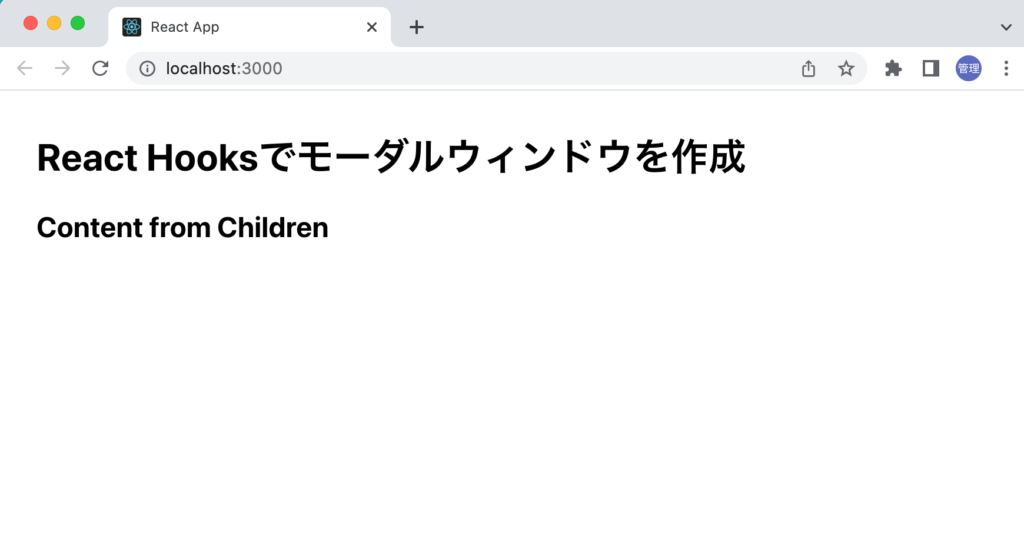
表示/非表示設定
Modalコンポーネントの内容をブラウザ上に表示することができたので、表示・非表示できる機能の追加を行います。表示・非表示にはuseState Hookを利用します。
import { useState } from 'react';

const useModal = () => {
  const [show, setShow] = useState(false);

  const Modal = ({ children }) => {
    if (!show) return null;
    return <>{children}</>;
  };

  return { Modal };
};

export default useModal;
showのデフォルト値をfalseにした場合はModal関数はnullを戻すのでブラウザ上には何も表示されません。デフォルト値をtrueにした場合にはブラウザ上に”cotent from children”の文字列が表示されます。
useStateの初期値ではなく表示・非表示を制御できるようにuseModal HookにopenModal, closeModal関数を追加します。追加した関数はModalと一緒にreturnに設定します。useModal Hookを実行することでModalだけでなくopenModal, closeModalも戻り値として戻されるのでそれらを別のコンポーネントから利用することできます。
import { useState } from 'react';

const useModal = () => {
  const [show, setShow] = useState(false);

  const openModal = () => {
    setShow(true);
  };

  const closeModal = () => {
    setShow(false);
  };

  const Modal = ({ children }) => {
    if (!show) return null;
    return <>{children}</>;
  };

  return { Modal, openModal, closeModal };
};

export default useModal;
App.jsxではuseModal HookからopenModalとcloseModal関数をimportします。”Open”と”Close”のボタンを追加して各ボタンにClickイベントを設定してimportした関数を指定します。
import useModal from './hooks/useModal';

function App() {
  const { Modal, openModal, closeModal } = useModal();

  return (
    <div style={{ margin: '2em' }}>
      <h1>React Hooksでモーダルウィンドウを作成</h1>
      <div>
        <button onClick={openModal}>Open</button>
      </div>
      <Modal>
        <h2>Content from Children</h2>
        <button onClick={closeModal}>Close</button>
      </Modal>
    </div>
  );
}

export default App;
ブラウザからアクセスするとデフォルトのshowの値はfalseに設定しているのでModalの内容は表示されません。
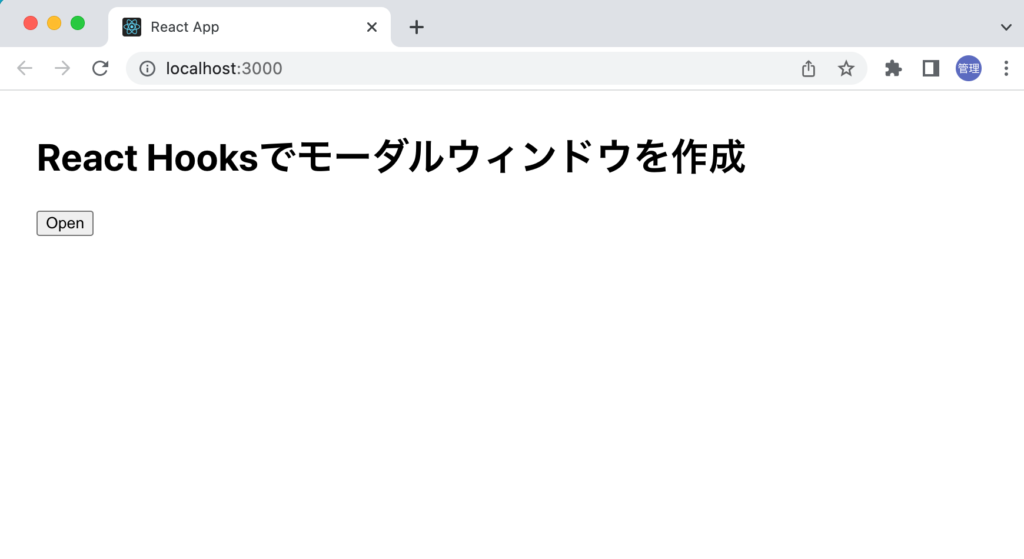
“Open”ボタンをクリックします。クリックするとopenModal関数によりshowの値がfalseからtrueに変更されるためModalの内容が表示されます。
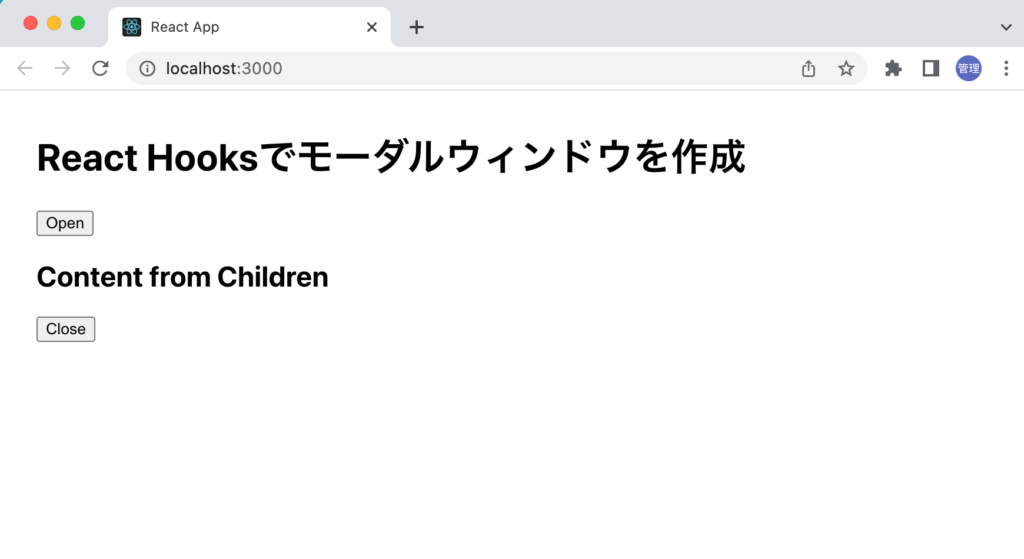
“close”ボタンをクリックするとModalの内容が非表示となります。useModal Hookを利用することで表示・非表示の切り替えを行えるようになりました。
Overlayの設定
モーダルウィンドウではモーダルで表示させる内容を背景とは区別するため背景を薄暗い色に設定しモーダルは中央付近に表示させることが一般的です。背景はOverlay(オーバーレイ)を呼ばれます。Overlayの設定を行います。
背景は画面全体を覆うためpositionをfixedにtop, bottom, left, rightの値を0に設定します。flexboxを利用して中央にコンテンツを表示するようにしています。コンテンツをブラウザの中央に表示させたくない場合はjustify-contentとalign-itemsの値で調整できます。
const Modal = ({ children }) => {
  if (!show) return null;
  return (
    <div
      style={{
        position: 'fixed',
        top: 0,
        left: 0,
        right: 0,
        bottom: 0,
        display: 'flex',
        justifyContent: 'center',
        alignItems: 'center',
      }}
    >
      <div
        style={{
          position: 'fixed',
          top: 0,
          bottom: 0,
          left: 0,
          right: 0,
          backgroundColor: 'gray',
          opacity: '0.5',
        }}
      ></div>
      <div style={{ position: 'relative' }}>{children}</div>
    </div>
  );
};
overlayの背景にはグレーを設定し、opacityは0.5を設定しています。背景色と透明度はここで変更することができます。
ブラウザ上の”Open”ボタンをクリックすると画面中央にAppコンポーネントのModalタグに挿入したコンテンツが表示されていることが確認できます。
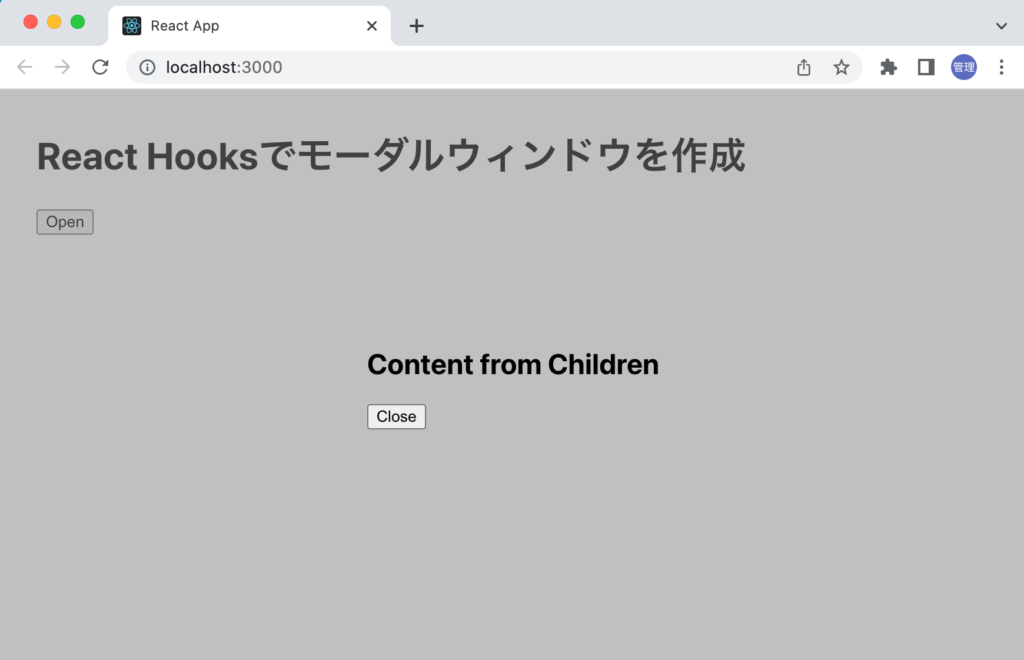
“close”ボタンも有効なのでクリックするとモーダルウィンドウは非表示となります。
コンテンツのstyle設定
表示させているコンテンツの背景色を設定していないためOverlayの背景色と同色になっています。コンテンツのスタイルを設定してコンテンツの内容が際立つようにしていきます。
コンテンツのstyle設定はModalタグに挿入したHTML要素で行うことができます。背景色を白に設定します。
import useModal from './hooks/useModal';

function App() {
  const { Modal, openModal, closeModal } = useModal();

  return (
    <div style={{ margin: '2em' }}>
      <h1>React Hooksでモーダルウィンドウを作成</h1>
      <div>
        <button onClick={openModal}>Open</button>
      </div>
      <Modal>
        <div style={{ backgroundColor: 'white' }}>
          <h2>Content from Children</h2>
          <button onClick={closeModal}>Close</button>
        </div>
      </Modal>
    </div>
  );
}

export default App;
コンテンツの背景色を設定することでコンテンツが目立つようになりました。
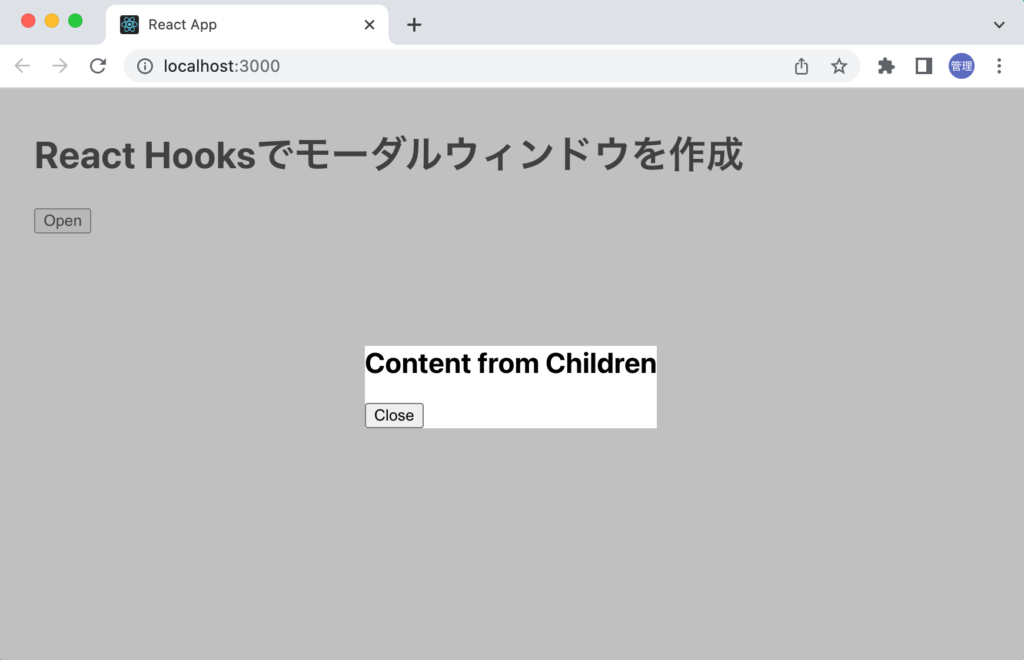
現在の設定ではコンテンツの幅はコンテンツの内容に依存しているのでwidthやheight、paddingを設定することでコンテンツの大きさを変更することができます。width, height, paddingとborder-radiusの設定を行います。
<Modal>
  <div
    style={{
      backgroundColor: 'white',
      width: '300px',
      height: '200px',
      padding: '1em',
      borderRadius: '15px',
    }}
  >
    <h2>Content from Children</h2>
    <button onClick={closeModal}>Close</button>
  </div>
</Modal>
指定したstyleで表示されることがわかります。
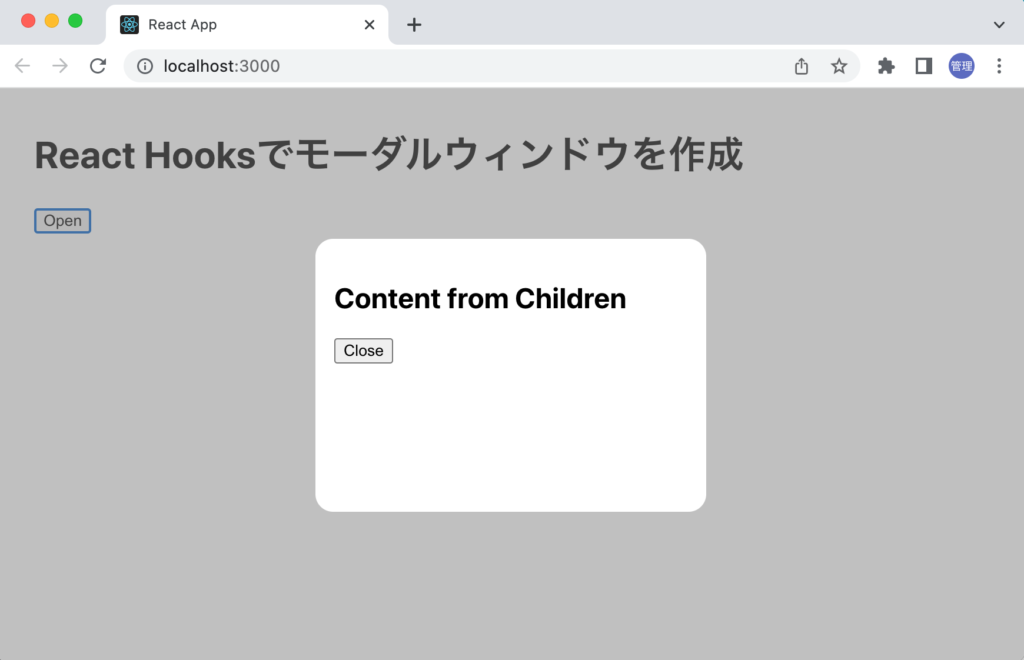
これだけの設定でモーダルウィンドウを作成することができました。
createPortalの設定
現在の設定でもモーダルウィンドウを表示することができますが”Open”ボタンをクリックするとModalタグを設定した場所に要素が追加され、モーダルウィンドウが表示されます。
言葉だけの説明では分かりにくいのでModalタグの下に要素を追加します。
<div style={{ margin: '2em' }}>
  <h1>React Hooksでモーダルウィンドウを作成</h1>
  <div>
    <button onClick={openModal}>Open</button>
  </div>
  <Modal>
    <div
      style={{
        backgroundColor: 'white',
        width: '300px',
        height: '200px',
        padding: '1em',
        borderRadius: '15px',
      }}
    >
      <h2>Content from Children</h2>
      <button onClick={closeModal}>Close</button>
    </div>
  </Modal>
  <div>メインコンテンツ</div>
</div>
追加後”open”ボタンをクリックしてブラウザのデベロッパーツールの要素を確認します。説明した通りModalタグを設定した場所にモーダルを構成する要素が追加されています。

現在は動作確認のためシンプルな構成なのでモーダルウィンドウは問題なく動作していますが、コンポーネントの組み合わせにより複雑に要素が重なり合った状態ではz-indexを設定しても正しく表示されない場合があります。そのような要素の重なりの問題が発生しないためcreatePortalによってモーダルウィンドウを表示する場所を指定します。Viteではプロジェクトディレクトリの直下のindex.htmlファイルでReactのコードを挿入する場所として<div id=”root”></div>が設定されているのでidにrootを持つ要素をcreatePortalの場所として指定します。<div id=”portal”></div>といった要素をindex.htmlファイルに追加することも可能です。
createPortalの構文は下記の通りで、第一引数に表示させたい要素、第二引数に表示させたい場所の要素を指定するだけです。
createPortal(Hello World,document.getElementById('root'))
Modal.jsxでcreatePortalを利用します。createPortalはreact-domからimportします。
import { useState } from 'react';
import { createPortal } from 'react-dom';

const useModal = () => {
  const [show, setShow] = useState(false);

  const openModal = () => {
    setShow(true);
  };

  const closeModal = () => {
    setShow(false);
  };

  const Modal = ({ children }) => {
    if (!show) return null;
    return createPortal(
      <div
        style={{
          position: 'fixed',
          top: 0,
          left: 0,
          right: 0,
          bottom: 0,
          display: 'flex',
          justifyContent: 'center',
          alignItems: 'center',
        }}
      >
        <div
          style={{
            position: 'fixed',
            top: 0,
            bottom: 0,
            left: 0,
            right: 0,
            backgroundColor: 'gray',
            opacity: '0.5',
          }}
        ></div>
        <div style={{ position: 'relative' }}>{children}</div>
      </div>,
      document.getElementById('root')
    );
  };

  return { Modal, openModal, closeModal };
};

export default useModal;
設定後に再度ブラウザのデベロッパーツールの要素を利用してモーダルウィンドウの要素が追加されている場所を確認します。
先ほどは”Open”ボタンの下でメインコンテンツの上に挿入されていましたがidにrootを持つdiv要素の下に追加されていることがわかります。
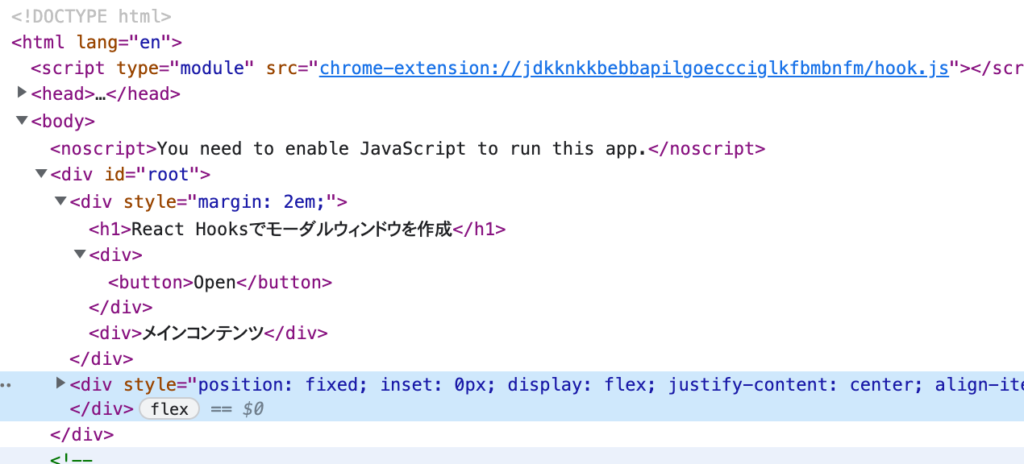
Modalタグをh1タグの上に配置したとしても表示される場所はidにrootを持つdiv要素の下になります。createPortalによりモーダルウィンドウの要素が追加される場所を指定できるようになりました。
背景のスクロールを停止する
現在の設定ではコンテンツが少ないのでブラウザのスクロールバーが表示されることはありません。背景のスクロールとはどういうことを意味しているのかを確認するためにブラウザのスクロールバーが表示されるように設定を行います。
メインコンテンツのdiv要素にheightを設定し高さがわかるように背景色を設定します。
<div style={{ height: '2000px', backgroundColor: '#ddd' }}>
  メインコンテンツ
</div>
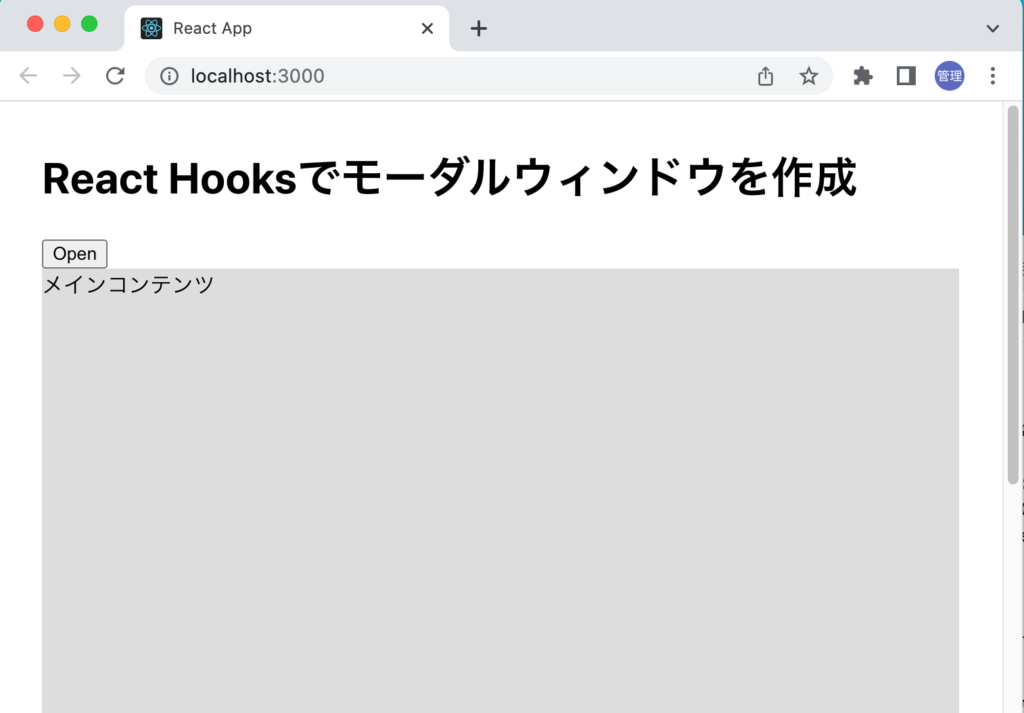
ブラウザで確認するとブラウザの右側にスクロールバーが右側に表示されることが確認できます。
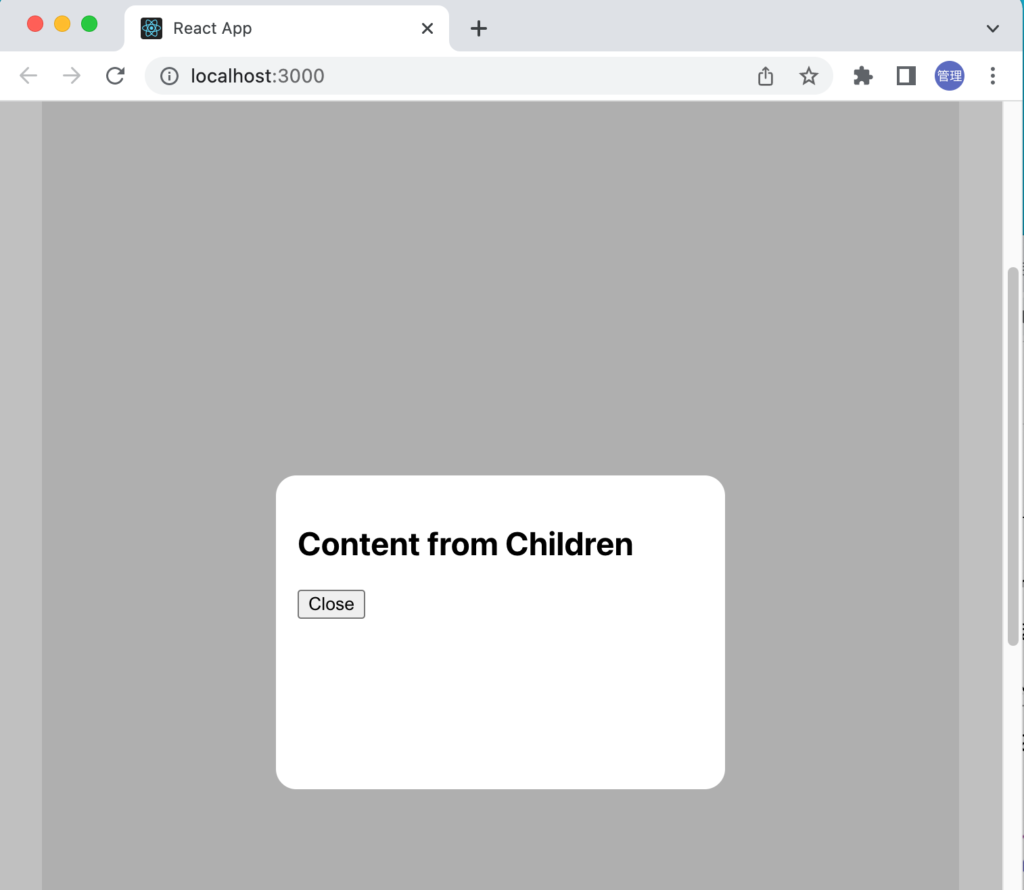
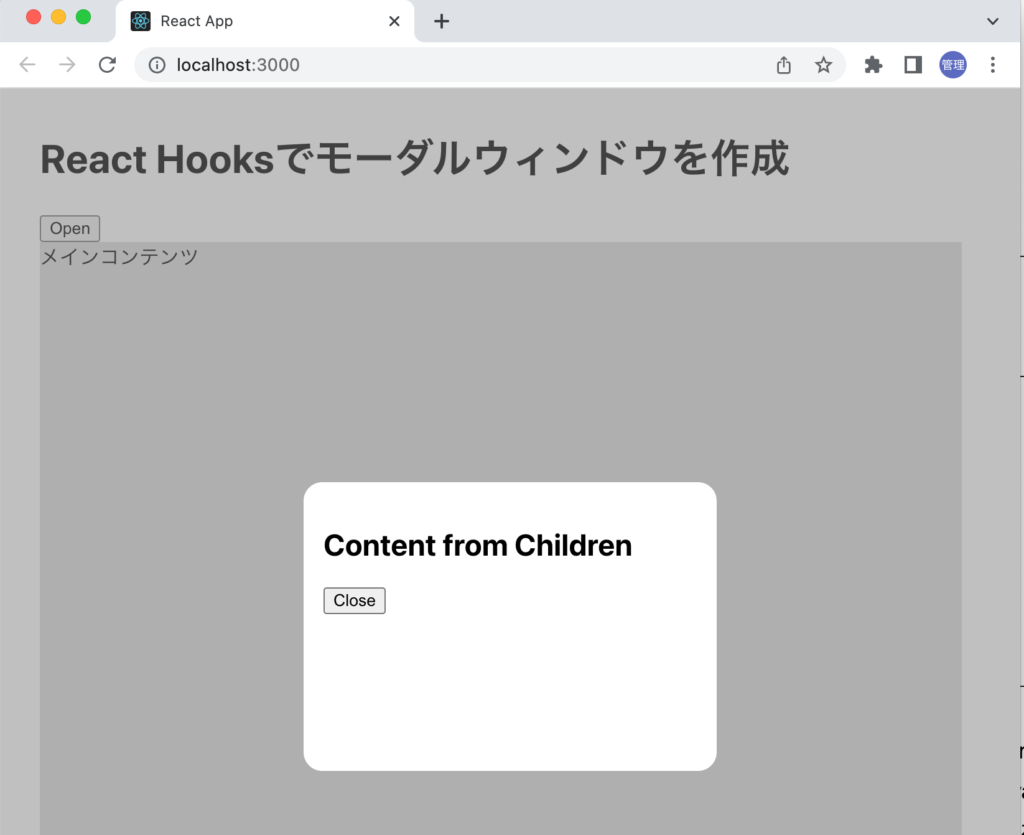
“Open”ボタンをクリックしてモーダルウィンドウを表示してスクロールを行ってください。モーダルは中央に表示されていますが背景がスクロールされていることがわかります。これが背景のスクロールです。
背景のスクロールがどのようなものか理解できたのでモーダルウィンドウが表示されている間は背景のスクロールを停止するためにbody-scroll-lockライブラリを利用します。
npmコマンドでインストールを行います。
% npm install body-scroll-lock
body-scroll-lockからimportする3つの関数(disableBodyScroll, enableBodyScroll, clearAllBodyScrollLocks)を利用します。
disableBodyScrollの引数には要素とオプションを指定することができbodyのスクロールを停止します。要素の指定は必須です。enableBodyScrollの引数には要素を指定することができ停止したスクロールを再度有効にします。clearAllBodyScrollLocksは複数の要素でdisableBodyScrollを設定した場合でもすべて解除します。

要素を指定するためにuseRef Hookを利用します。モーダルウィンドウのコンテンツの要素をuseRef Hookを利用してその要素を取得します。useRefで定義したcontentRefのcurrentプロパティに要素が保存されます。保存される要素は<div style=”position:relative”></div>です。
const Modal = ({ children }) => {
  const contentRef = useRef(null);
  if (!show) return null;
  return createPortal(
    <div
      style={{
//略
      }}
    >
      <div
        style={{
//略
        }}
      ></div>
      <div style={{ position: 'relative' }} ref={contentRef}>
        {children}
      </div>
    </div>,
    document.getElementById('root')
  );
};
body-scroll-lockの制御はuseEffectの中で行います。contentRef.currentに要素が保存されていない場合には何も行いません。要素が存在し、showがtrueの場合にdisableBodyScrollでbodyのスクロールを停止します。showがfalseの場合はスクロールを再開します。Modalコンポーネントをアンマウントする際はすべてのスクロールの設定を解除しています。
useEffect(() => {
  if (contentRef.current === null) return;

  if (show) {
    disableBodyScroll(contentRef.current, {
      reserveScrollBarGap: true,
    });
  } else {
    enableBodyScroll(contentRef.current);
  }

  return () => {
    clearAllBodyScrollLocks();
  };
}, [show, contentRef]);
useEffectの依存関係にshowを設定すると”React Hook useEffect has an unnecessary dependency: ‘show’. Either exclude it or remove the dependency array. Outer scope values like ‘show’ aren’t valid dependencies because mutating them doesn’t re-render the component”のWarningが表示されるのでModalのpropsとしてshowを受け取れるようにします。useModal関数ではreturnにshowを加えます。
import { useEffect, useRef, useState } from 'react';
import { createPortal } from 'react-dom';
import {
  disableBodyScroll,
  enableBodyScroll,
  clearAllBodyScrollLocks,
} from 'body-scroll-lock';

const useModal = () => {
  const [show, setShow] = useState(false);

  const openModal = () => {
    setShow(true);
  };

  const closeModal = () => {
    setShow(false);
  };

  const Modal = ({ children, show }) => {
    const contentRef = useRef(null);

    useEffect(() => {
      if (contentRef.current === null) return;

      if (show) {
        disableBodyScroll(contentRef.current);
      } else {
        enableBodyScroll(contentRef.current);
      }

      return () => {
        clearAllBodyScrollLocks();
      };
    }, [show, contentRef]);

    if (!show) return null;

    return createPortal(
      <div
        style={{
//略
        }}
      >
        <div
          style={{
//略
          }}
        ></div>
        <div style={{ position: 'relative' }} ref={contentRef}>
          {children}
        </div>
      </div>,
      document.getElementById('root')
    );
  };

  return { Modal, openModal, closeModal, show };
};

export default useModal;
useModalでの設定が完了したのでuseModal Hookからshowのimportを追加してModalにpropsでshowを渡します。
import useModal from './hooks/useModal';
import './App.css';

function App() {
  const { Modal, openModal, closeModal, show } = useModal();
  return (
    <div style={{ margin: '2em' }}>
      <Modal show={show}>
        <div
          style={{
            backgroundColor: 'white',
            width: '300px',
            height: '200px',
            padding: '1em',
            borderRadius: '15px',
          }}
        >
          <h2>Content from Children</h2>
          <button onClick={closeModal}>Close</button>
        </div>
      </Modal>
      <h1>React Hooksでモーダルウィンドウを作成</h1>
      <div>
        <button onClick={openModal}>Open</button>
      </div>

      <div style={{ height: '2000px', backgroundColor: '#ddd' }} id="main">
        メインコンテンツ
      </div>
    </div>
  );
}

export default App;
設定完了後、”Open”ボタンをクリックすると表示されていたブラウザのスクロールバーが消え、背景のスクロールができなくなります。
“Close”ボタンをクリックすると再度スクロールが可能になります。
React Hooksを利用してモーダルウィンドウを作成することができました。それほど複雑なコードではありませんがこれらの設定を通してReact Hook, useState, useEffectなどさまざまなことを関わること学ぶことができました。


