Laravel9でLaravel UIパッケージを利用して認証設定

最新版のLaravelでLaravel UIパッケージを利用したい場合はこちらを参考にしてください。

Laravel9のドキュメントには記述されていませんがLaravel9でもLaravel UIパッケージを利用することができます。

Laravel9で認証機能をすぐに利用しようと思った場合にはLaravel BreezeまたはLaravel Jetstreamパッケージをインストールする必要があります。Breezeパッケージを利用するためにはInertia.js(Vue, React), Apline.jsまたはLivewire、JetsreamパッケージではInertia.js(Vue)またはLivewireの知識が必要となります。CSSはTailwind CSSが利用されています。
Laravel UIではCSSにBootstrapを利用しており、Vue, Reactを選択することができますが必須ではありません。本文書ではVue, Reactをインストールした場合とVueをインストールした場合の動作確認を行っています。
Laravelプロジェクトの作成
composerコマンドを利用してLaravel 9のインストールを行います。laravel_9というプロジェクト名をつけていますが任意の名前を設定することができます。
% composer create-project --prefer-dist laravel/laravel laravel_9
Lravel UIのインストールと設定
Laravel UIパッケージのインストールを行います。
% composer require laravel/ui
認証のScaffolding(骨組み:認証画面やログイン画面など)を作成するためにphp artisan uiコマンドを実行します。vueやReactを利用したい場合にはvue、reactを指定することができますが今回はbootstrapを指定します。後半にvueを選択した場合の動作確認も行っています。
 % php artisan ui bootstrap --auth
Bootstrap scaffolding installed successfully.
Please run "npm install && npm run dev" to compile your fresh scaffolding.
“npm install && npm run dev”を実行する前にどのようなJavaScriptのライブラリがインストールされるのかpackage.jsonで確認することができます。bootstapやsassを確認することができます。
{
//略
    "devDependencies": {
        "@popperjs/core": "^2.10.2",
        "axios": "^0.25",
        "bootstrap": "^5.1.3",
        "laravel-mix": "^6.0.6",
        "lodash": "^4.17.19",
        "postcss": "^8.1.14",
        "sass": "^1.32.11",
        "sass-loader": "^11.0.1"
    }
}
“npm install && npm run dev”を実行すると追加のパッケージのインストールを行うようにメッセージが表示されるので指示通りインストールを行います。
 % npm install && npm run dev
//略
        Additional dependencies must be installed. This will only take a moment.

        Running: npm install resolve-url-loader@^5.0.0 --save-dev --legacy-peer-deps

        Finished. Please run Mix again.
% npm install resolve-url-loader@^5.0.0 --save-dev --legacy-peer-deps
再度npm run devコマンドを実行します。エラーが解消しビルドに成功します。
 % npm run dev
//略
webpack compiled successfully
publicフォルダにcssフォルダとjsフォルダが作成されそれぞれのフォルダにapp.cssとapp.jsファイルが作成されます。
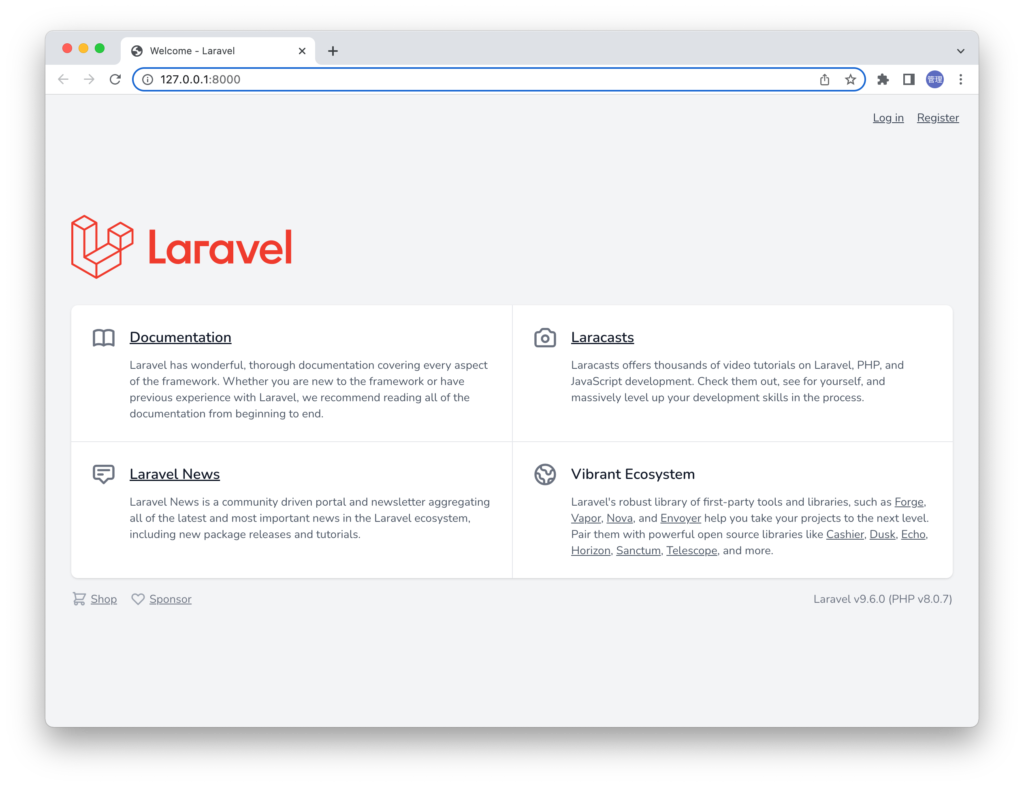
php artisan serveコマンドで開発サーバを起動すると画面右上に認証に利用するLoginとRegisterのリンクが表示されます。Laravel UIをインストールしていない場合にはLogin,Registerのリンクは表示されません。
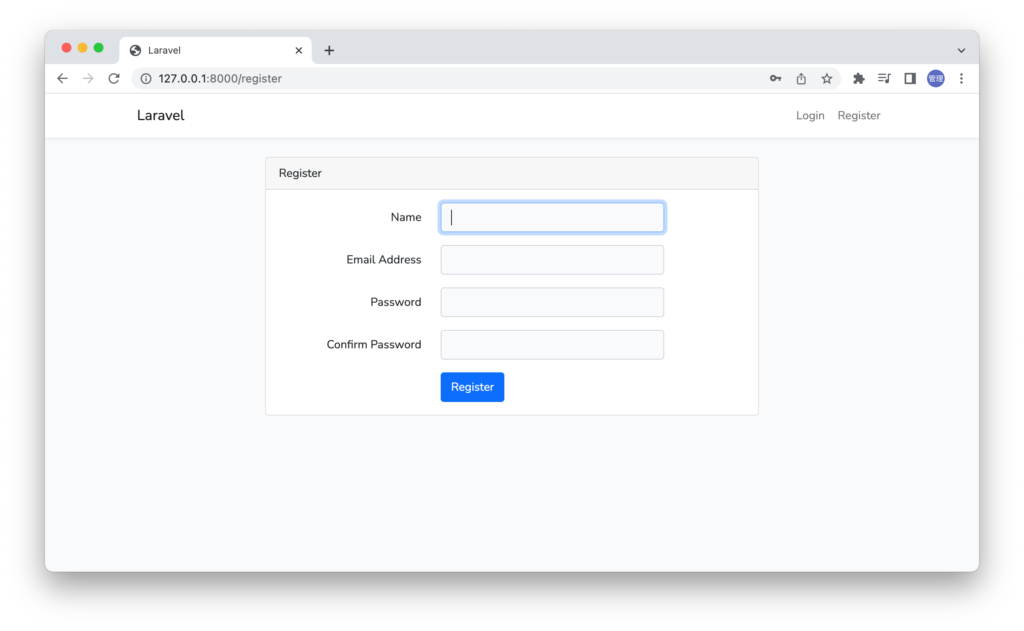
Registerのリンクをクリックするとユーザの登録フォームが表示されます。データベースの設定を行っていないのユーザの登録を行うことはできません。
データベースの設定
簡易的に利用できるSQLiteを利用します。touchコマンドでSQLiteで利用するデータベースファイルを作成します。プロジェクトフォルダの直下で実行しdatabaseフォルダの下にdatabase.sqliteファイルを作成します。
% touch database/database.sqlite
SQLiteに接続するために.envファイルを開いたDB_CONNECTIONの値をmysqlからsqliteに変更します。変更が完了したらDB_CONNECTIONを除いて先頭にDB_がある環境変数を削除します。
DB_CONNECTION=sqlite
DB_HOST=127.0.0.1 //削除
DB_PORT=3306 //削除
DB_DATABASE=laravel //削除
DB_USERNAME=root //削除
DB_PASSWORD= //削除
.envファイルの更新が完了したらphp artisan migrateコマンドを実行してテーブルの作成を行います。
 % php artisan migrate
Migration table created successfully.
Migrating: 2014_10_12_000000_create_users_table
Migrated:  2014_10_12_000000_create_users_table (3.79ms)
Migrating: 2014_10_12_100000_create_password_resets_table
Migrated:  2014_10_12_100000_create_password_resets_table (1.73ms)
Migrating: 2019_08_19_000000_create_failed_jobs_table
Migrated:  2019_08_19_000000_create_failed_jobs_table (1.81ms)
Migrating: 2019_12_14_000001_create_personal_access_tokens_table
Migrated:  2019_12_14_000001_create_personal_access_tokens_table (2.60ms)
テーブルの作成が正常に完了したらユーザ登録画面からユーザの登録を行ってください。ユーザの登録が完了するとLaravelのログインが行われるので下記の初期画面が表示されます。画面はBootstrapのclassを使って構築されています。
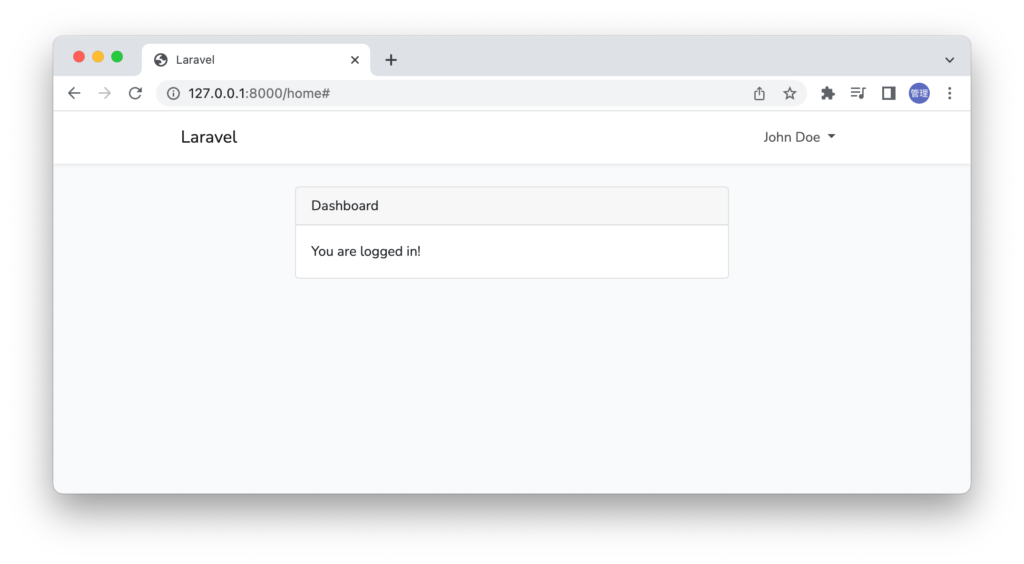
Laravel UIを利用することで認証機能を追加することができました。ここからLaravelのアプリケーションを構築することになります。
Vueを選択した場合
bootstapではなくvueを選択した場合の違いを確認しておきます。LaravelとLaravel UIパッケージまでのインストールは同じですが 認証のScaffoldingを作成するために実行するphp artisan uiコマンドでvueを指定します。
% php artisan ui vue --auth
package.jsonファイルを確認するとvueのバージョン2がインストールされることが確認できます。バージョンを変更することも可能です。変更した場合は後ほど確認するapp.jsファイルのVueのインスタンスの作成方法を変更する必要があります。
{
//略
    "devDependencies": {
        "@popperjs/core": "^2.10.2",
        "axios": "^0.25",
        "bootstrap": "^5.1.3",
        "laravel-mix": "^6.0.6",
        "lodash": "^4.17.19",
        "postcss": "^8.1.14",
        "resolve-url-loader": "^3.1.2",
        "sass": "^1.32.11",
        "sass-loader": "^11.0.1",
        "vue": "^2.6.12",
        "vue-template-compiler": "^2.6.12"
    }
}
“npm install && npm run dev”コマンドを実行します。実行すると追加のパッケージvue-loaderのインストールを行うようにメッセージが表示されるので指示通りインストールを行います。
 % npm install && npm run dev
 //略
         Additional dependencies must be installed. This will only take a moment.

        Running: npm install vue-loader@^15.9.7 --save-dev --legacy-peer-deps

        Finished. Please run Mix again.
% npm install vue-loader@^15.9.7 --save-dev --legacy-peer-deps
再度npm run devコマンドを実行します。エラーが解消しビルドに成功します。
 % npm install && npm run dev
 //略
webpack compiled successfully
ユーザ登録画面やログイン画面などはbootstrapを指定した時と同じですが、resouces¥js¥app.jsファイルを見ると違いを確認することができます。bootstrapを指定した場合は先頭のrequire(‘./bootstrap’)のみが記述されていますがvueを指定した場合にはVueの関する設定が記述されています。
/**
* First we will load all of this project's JavaScript dependencies which
* includes Vue and other libraries. It is a great starting point when
* building robust, powerful web applications using Vue and Laravel.
*/
require('./bootstrap');
window.Vue = require('vue').default;
/**
* The following block of code may be used to automatically register your
* Vue components. It will recursively scan this directory for the Vue
* components and automatically register them with their "basename".
*
* Eg. ./components/ExampleComponent.vue -> Bootstrapの時と同様にSQLiteを利用してデータベースの作成を行います。設定方法については先ほどの手順を参考にしてください。
データベースの作成が完了してユーザの登録を行いLaravelのログインを行ってください。先ほどと同様にDashboardが表示されます。この画面はresource¥views¥home.blade.phpファイルに記述されています。
app.jsファイルの中でExampleComponentコンポーネントがVueに登録されているのでhome.blade.phpファイルの中でExampleComponentコンポーネントをブラウザ上に表示することができます。
@extends('layouts.app')

@section('content')
<div class="container">
    <div class="row justify-content-center">
        <div class="col-md-8">
            <div class="card">
                <div class="card-header">{{ __('Dashboard') }}</div>

                <div class="card-body">
                    @if (session('status'))
                        <div class="alert alert-success" role="alert">
                            {{ session('status') }}
                        </div>
                    @endif

                    {{ __('You are logged in!') }}
                </div>
            </div>
        </div>
        <example-component />
    </div>
</div>
@endsection
ブラウザで確認するとExample Componentが表示されています。
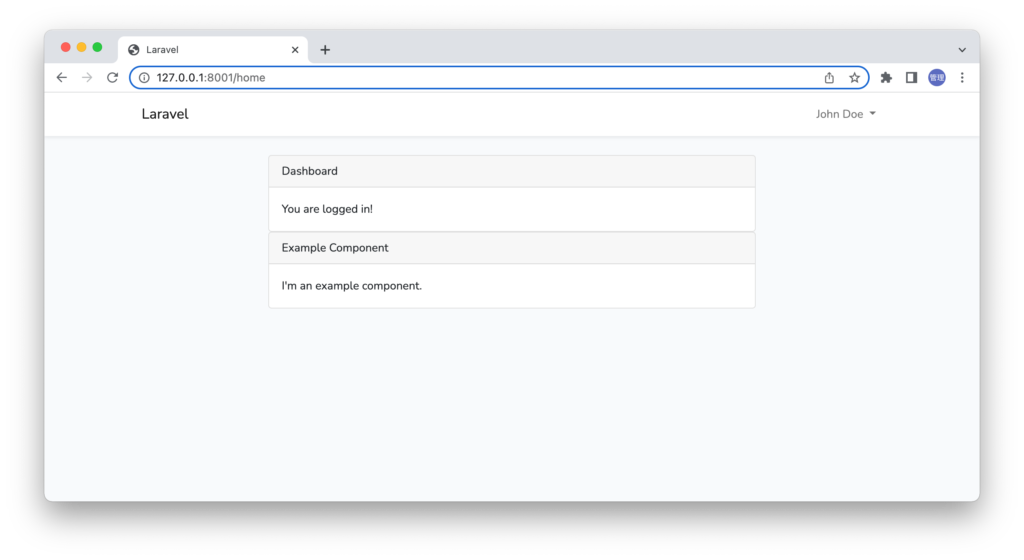
ExampleComponent.vueファイルの中身を確認して見ると以下のように記述されています。ExampleComponent.vueファイルはSingle File Componentsと呼ばれtemplate, ロジック、スタイルを設定することができます。templateタグの中身がブラウザに表示される内容です。scriptタグの中にJavaScriptを利用してコードを記述することができます。ExampleComponent.vueファイルではスタイルの設定は行っていません。
<template>
    <div class="container">
        <div class="row justify-content-center">
            <div class="col-md-8">
                <div class="card">
                    <div class="card-header">Example Component</div>

                    <div class="card-body">
                        I'm an example component.
                    </div>
                </div>
            </div>
        </div>
    </div>
</template>

<script>
    export default {
        mounted() {
            console.log('Component mounted.')
        }
    }
</script>
画面への描写だけではなくライフサイクルフックのmountedにconsole.logが記述されているのでExampleComponentを利用した場合はブラウザのデベロッパーツールのコンソールに”Component mounted.”が表示されます。
複数のコンポーネントの表示
ExampleComponent以外のコンポーネントを表示させたい場合の方法を確認しておきます。resouces¥jsフォルダの中にUserList.vueファイルを作成してExampleComponent.vueファイルの内容を元に下記を記述します。
<template>
    <div class="container">
        <div class="row justify-content-center">
            <div class="col-md-8">
                <div class="card">
                    <div class="card-header">User List</div>

                    <div class="card-body">I'm an example component.</div>
                </div>
            </div>
        </div>
    </div>
</template>

<script>
export default {
    mounted() {
        console.log("Component mounted.");
    },
};
</script>
ファイルを作成しただけではBladeファイル内で利用することはできません。利用するためには作成したコンポーネントをVueに登録する必要があります。ExampleComponent.vueファイルはVue.componentによって登録されていましたがコンポーネントを作成するたびに行を追加するのは非効率なのでjsフォルダ下にある.vueの拡張子がついたコンポーネントをVueに登録できるように設定を行います。その設定が事前に準備されておりデフォルトではコメントされていますがそれを外しています。files.keys().mapで展開されるkeyには登録されるvueファイルが入っているのでconsole.logでブラウザのコンソールに表示されるように設定しています。
const files = require.context("./", true, /\.vue$/i);
files.keys().map((key) => {
    console.log(key);
    Vue.component(key.split("/").pop().split(".")[0], files(key).default);
});

// Vue.component(
//     "example-component",
//     require("./components/ExampleComponent.vue").default
// );
この設定でExampleComponent.vueとUserList.vueを登録することができます。Home.blade.phpファイルに登録したExampleComponent.vueとUserList.vueを追加します。
@extends('layouts.app')

@section('content')
<div class="container">
    <div class="row justify-content-center">
        <div class="col-md-8">
            <div class="card">
                <div class="card-header">{{ __('Dashboard') }}</div>

                <div class="card-body">
                    @if (session('status'))
                        <div class="alert alert-success" role="alert">
                            {{ session('status') }}
                        </div>
                    @endif

                    {{ __('You are logged in!') }}
                </div>
            </div>
        </div>
        <div>
            <example-component />
        </div>
        <div>
            <user-list />
        </div>
    </div>
</div>
@endsection
JavaScriptファイルを更新した場合はビルドを行う必要があるのでnpm run watchコマンドを実行しておきます。
ブラウザで確認すると2つのコンポーネントが表示され、デベロッパーツールのコンソールを見ると./UserList.vueと./components/ExampleComponent.vueが読み込まれていることがわかります。
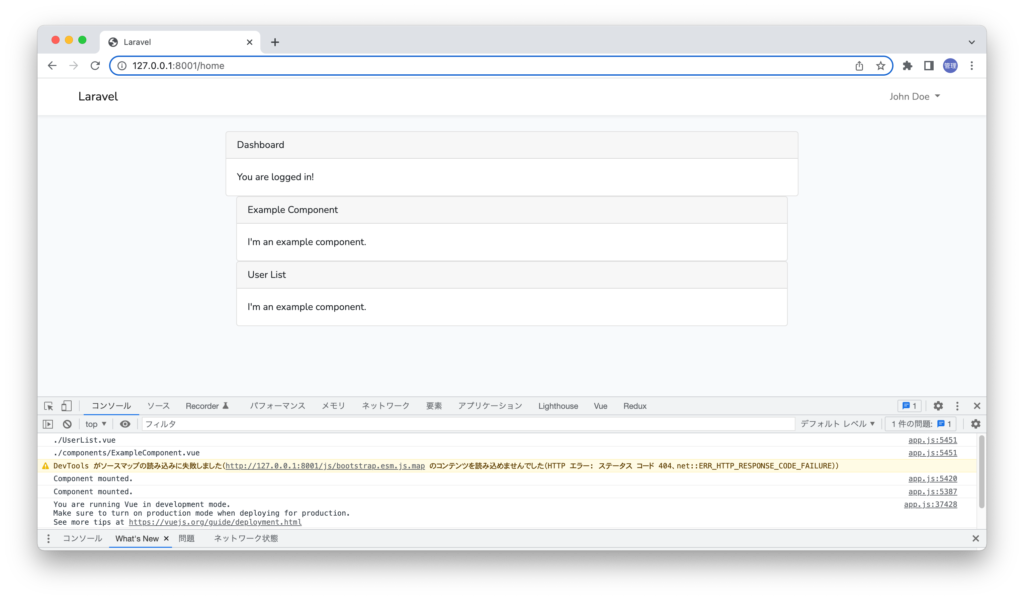
Vueを選択した場合のコンポーネントの登録方法と利用方法を理解することができました。Vueを選択した場合はBladeファイルにコンポーネントを追加することでVueを利用することができます。
Laravel UIに認証機能を利用するだけであれば新しい技術を習得する必要がないのでLaravel BreezeやLaravel Jetstreamを利用するより簡単かもしれません。